The NeuriEye guide · Android
Install NeuriEye: from the beta to your first event
This guide covers a fresh installation: your old phone becomes the camera, and your main phone becomes its Owner. Pair the devices by scanning a QR code, or choose the same Google account on both phones.
1. Join the Google Play closed test
Follow the installation assistant →
The assistant keeps the three steps in view. Direct links remain available below if you prefer.
NeuriEye is not yet publicly available to everyone on the Play Store. With the Google account you will use for testing, join the NeuriEye Testeurs group, then agree to participate on Google Play. Install the app from Google Play on both phones.
The link opens Google’s account chooser. Sign in if needed, then click “Join group”. In the next dialog, confirm with “Join group” again. Return to this guide yourself: Google does not bring you back automatically.
Use the same account to join the group, participate in the test and access the Play listing. If the page says the app is unavailable, first check the account selected in your browser and in the Play Store. Joining the group does not replace opting into the test.
2. Set up the Sentinel phone
Open NeuriEye on the device that will stay in place and choose Sentinel. Display its QR code to pair it from the Viewer, or choose “Continue with Google” using the future Owner’s account. Follow the permission requests. Camera access is required, as is microphone access for audio features.
Keep Google Play available for app installation and updates. In recent versions, choosing the Sentinel role opens its setup directly, without a separate Play preparation step.
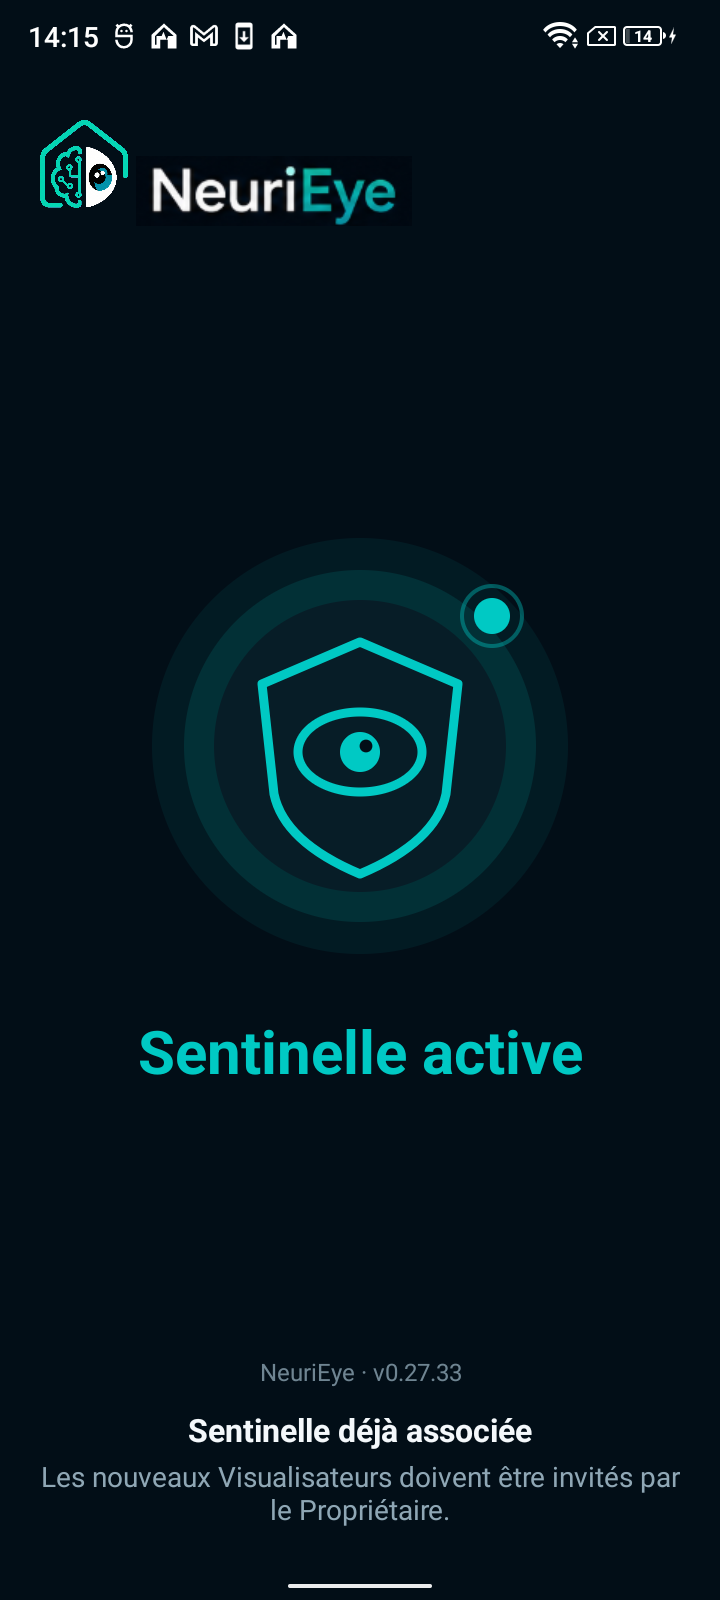
The “Sentinel ready” screen asks you to continue on your main phone. Keep the Sentinel connected and leave the app open during this first pairing.
3. Connect the Viewer
Open NeuriEye on your main phone and choose Viewer. Sign in with your Google account. For QR pairing, choose “Add a Sentinel” and scan its QR: pairing finishes automatically. For Google pairing, select exactly the same account as on the Sentinel.
With Google pairing, the Sentinel is discovered automatically, then the devices complete their cryptographic connection. Google sign-in identifies your account, but the Sentinel must also finish this security step before access works.
If it does not appear, check both accounts, the Internet connection and Play updates. Do not delete an already paired Sentinel to troubleshoot a short delay: deletion affects its access permissions and media.
4. Check your first event
From the Owner’s phone, enable monitoring, open the live feed and check the camera angle. Enable the detection you need, walk in front of the camera and open the Journal. Check the event and play its photo or video after synchronization.
Repeat the test with the Sentinel’s screen off. Allow the relevant notifications on the Viewer and check Android battery restrictions if alerts or recovery do not work as expected. Menus vary between manufacturers: do not disable every protection at random.
After a restart or some updates, open NeuriEye visibly on the Sentinel and check that monitoring resumes. Android may prevent the camera or microphone from restarting automatically.
5. Invite someone without sharing your account
Once the installation works, the Owner can use access management to invite another account. Invitations are personal, single-use and valid for 24 hours: do not post them in a public forum.
Sharing defaults to read-only access. A user with control permissions can operate the live feed, but sensitive settings and membership management remain Owner-only. Up to five Viewers can watch simultaneously; only one device can control commands at a time.
Before granting access, read what revoking access can and cannot remove.